Importing data
| The visual interface for imports with uploads was added in the recent G-nom rework. It is functional but expected to undergo visual rennovations in the near future. |
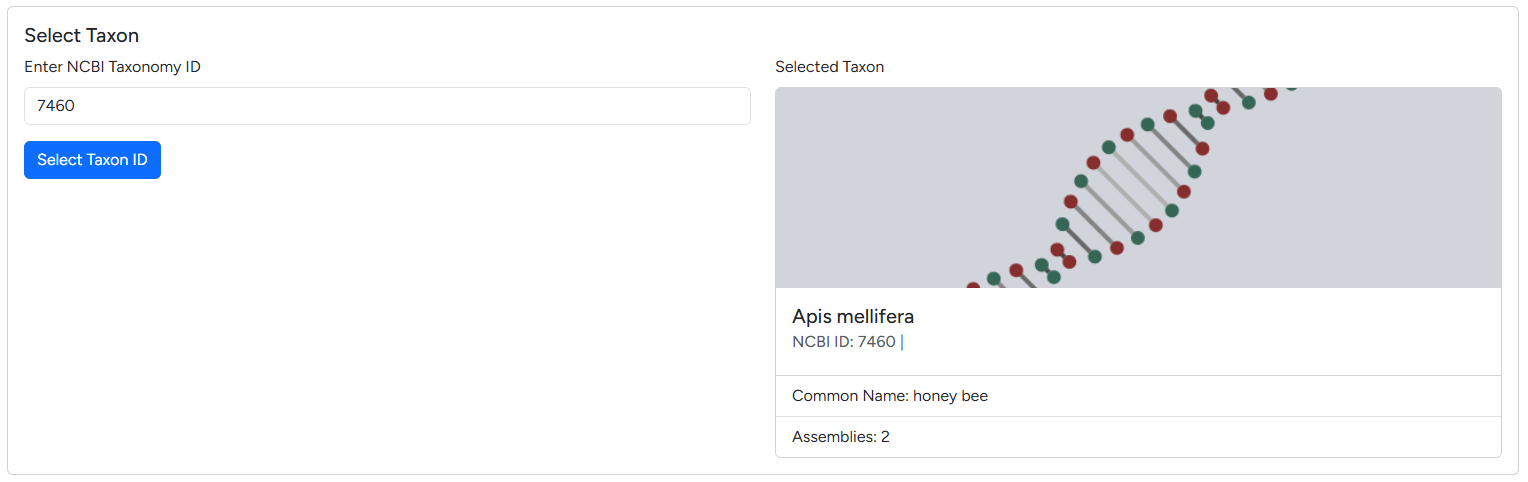
All imported data references a species NCBI ID, as outlined in the data hierarchy. The first step of every import is selecting the NCBI taxonomy ID in the dialogue seen below.
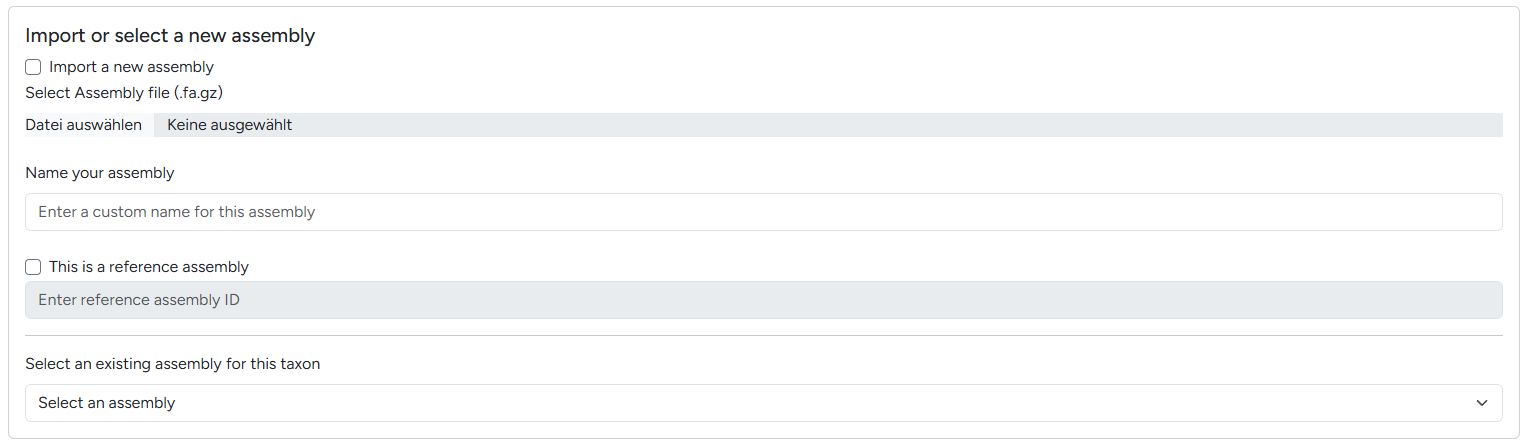
Following the data hierarchy, your imported data is either a new assembly or references an existing assembly (e.g. mappings or annotations). The next dialogue allows you to decide between importing a new assembly or adding data for an exisiting one.
Importing assemblies
| Future version of G-nom will automatically allow you to automatically import reference assemblies from IDs. You can track progress here. |
-
Specify the NCBI taxonomy ID of the species corresponding to your assembly as outline above
-
Under Import or select a new assembly, tick the Import a new assembly tickbox
-
Enter a name for your assembly, this will later be displayed in the assembly page header and on the assembly card
-
If your assembly is a reference assembly sourced from a database like NCBI or GENCODE, specify the stable ID of the assembly in the reference assembly ID field
-
At the bottom of the page click the start import button
Importing annotations
-
Specify the NCBI taxonomy ID of the species corresponding to your annotation
-
Select a pre-existing assembly
-
Under Import Analyses > Annotation, select a GFF file to upload and specify a custom name for the annotation. This name will be used as track label in the genome browser
Importing Mappings
| Mapping to larger genome can lead to large mapping files exceeding 20GB. Depending on your webserver configuration, you may encounter problems uploading. In this case, dispatch the import job manually in the server filesystem. |
-
Specify the NCBI taxonomy ID of the species corresponding to your mapping
-
Select a pre-existing assembly
-
Under Import Analyses > Mapping, select a SAM or BAM file to upload and specify a custom name for the mapping. This name will be used as track label in the genome browser.
Importing BUSCO analyses
| The BUSCO analysis can be generated automatically using the G-nom core pipeline. |
-
Specify the NCBI taxonomy ID of the species corresponding to your analysis
-
Select a pre-existing assembly
-
In your BUSCO output locate the file matching
short_summary.specific.<lineage_dataset>.<output_folder>.json -
Under Import Analyses > BUSCO, select the aforementioned file and specify a custom name for the analysis.
Importing fCat analyses
-
Specify the NCBI taxonomy ID of the species corresponding to your analysis
-
Select a pre-existing assembly
-
In your fCat output locate the file
fcat_report_summary.txt -
Under Import Analyses > fCat, select the aforementioned file and specify a custom name for the analysis.
Importing Repeatmasker analyses
| G-nom currently does not support metadata for repeat libraries used to perform the analysis. This feature will be addad in a future release. |
-
Specify the NCBI taxonomy ID of the species corresponding to your analysis
-
Select a pre-existing assembly
-
In your RepeatMasker Output locate the repeatmasker summary file (
.tbl.out) and the corresponding FNA file (.fna) -
Under Import Analyses > RepeatMasker, select the aforementioned files and specify a custom name for the analysis.
Importing taXaminer analyses
Importing taXaminer analyses requires a .zip file containing a subset of taXaminer’s output. Namely, the file should contain:
-
contribution_of_variables.csv -
gene_table_taxon_assignment.csv -
proteins.faa -
summary.txt -
taxonomic_hits.txt -
Specify the NCBI taxonomy ID of the species corresponding to your analysis
-
Select a pre-existing assembly
-
Under Import Analyses > taXaminer, select the aforementioned .zip file and specify a custom name for the analysis.